Both me and Steph went and looked in numerous charity shops for a suitable chair and couldn’t find anything relevant, Steph also looked at a car boot sale but came back empty handed.
One morning I took a trip to the indoor market on Rochester high street and a spotted numerous chairs, many of them unusable. Here are my findings:


I returned to the university with my findings and we had to make a decision, as time was against us, to buy one of the chairs. We chose the chair that appeared to be the most malleable in terms of recreating it.
We purchased it from the indoor market for £8, a reasonable price for what it was, though it had a broken seat and haggling seemed to be out of the question.


While she was busy doing that I took the top piece off the chair and looked into creating an elegant shape with the sander but I found the same problem with the legs, it was too hard to manoeuvre around the sander. So instead I sanded a basic shape that matched the shape we had sanded in the previous piece of the chair.
Nicole told Steph that her patterns she had found were too small to go on the chair, Steph’s idea was to repeat the pattern all along it numerous times but thinking back to the previous research about Baroque interiors and how the pattern is part of the structure, we decided that it was too small for the chair and any patterns we made would have to be carved in a way that would alter the structure of the chair rather than just the surface.
Things were not looking up for the chair....

After much deliberation we decided to take another trip to the indoor market and see what we could find. I managed to squeeze my way through some shelving and discovered a perfect set of old, embellished dining chairs. They were complete with carvings and motifs and seemed perfect for what we wanted. This we managed to purchase for £12, again, haggling was out of the question.


When we finally managed to drag the chair up the hill to the university we looked at what needed to be done to improve the chair. First of all was it needed a good clean! The upholstery needed to be changed and stuffing needed to be increased and perhaps some of the fine details could have been picked out in gold. We were very optimistic about this chair.
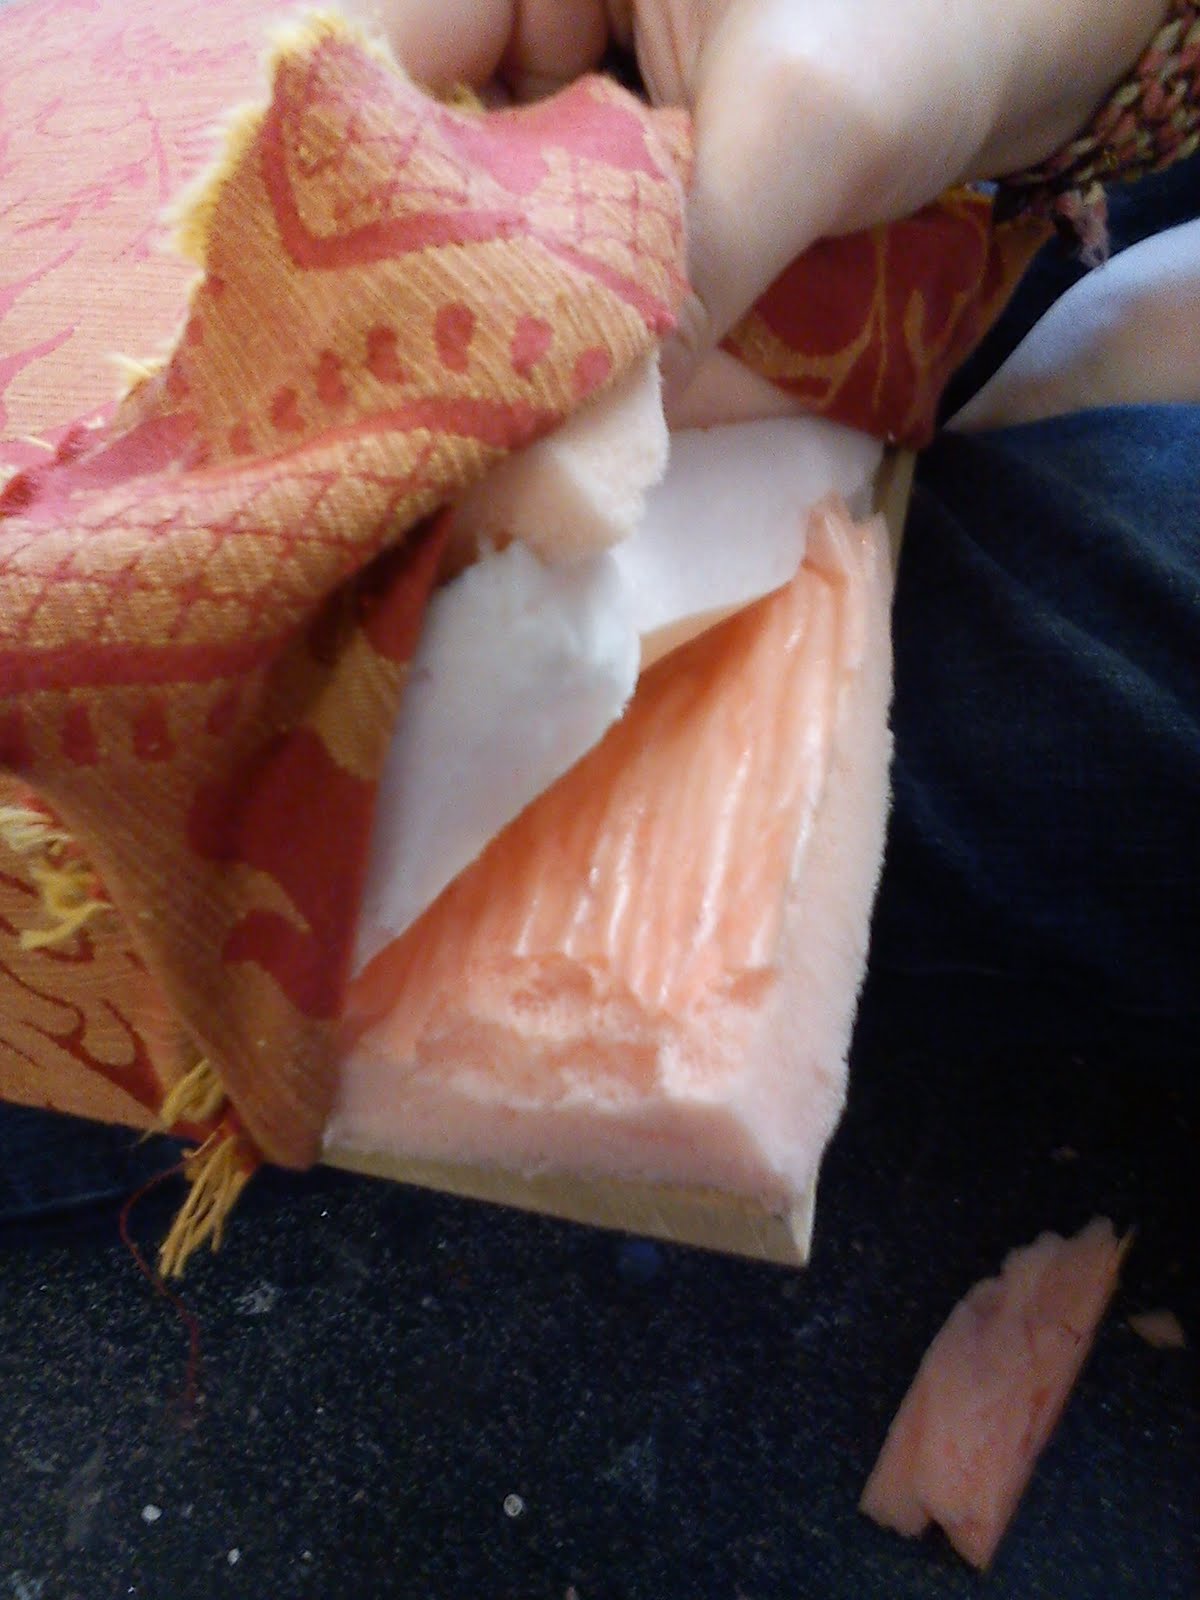
We began by taking the seating out and removing the upholstery from the base frame. This was unpleasant as the stuffing used inside was very old and was falling apart. Once that was done we asked Simon how he would suggest creating the seating.
The heavily embellished back of the chair was problematic at first as the chair was supposed to be a comfy chair so we considered knocking out the centre piece and filling it with an mdf board, upholstered and braided. The group’s feedback made it clear that they liked the middle piece too much to remove it and suggested only upholstering the gaps either side of it. This would be too difficult so we decided against upholstery on the back and leave it as it is.
From our research the look of the cushion coming down over the wooden framing of the chair with embroidery over the edge really appealed to us and we wondered how we would have achieved that look. The sharp edges achieved at the corners of the cushioning seemed appealing also. Simon told us that since we were using a dining chair as our basis it wouldn’t have had that feature on the cushioning which would have made it irrelevant to Baroque furnishing. We were given the alternate that we could make the cushion much higher and fasten the corners of the upholstery so that they appeared sharper.
Heather joined us here when we decided what the next steps were to be.
First of all I drew out on to a piece of mdf the outside of the base of the chair, this would make the new base overlap the chair frame making the cushioned area expand to the whole surface rather than sitting in the middle with the chair frame around it.
Polystyrene at least 1 inch in thickness was then cut to the same shape and layered on top of the mdf. This was repeated with thick foam and then a thinner piece. We found this to be too thick so we removed the polystyrene and decided the remaining thickness was ample, bearing in mind it would be slightly less thick once the fabric was pulled tight over it.
Nicole gave us some spare fabric se had found that was patterned and went well within the colour scheme of our room.
So we began by stapling the fabric at the back of the chair base using a staple gun. Heather showed us how to perform a hospital fold in achieving a neatly folded corner for our chair. We found the upholstering process to be both fun and tedious as you tighten one areas of the chair and another area has become creased or uneven. I was very insistent that the top surface of the chair remained smooth. One problem that arose was a bulge in the foam so bits were removed and then re-added and moved over until we finally got a neat, smooth finish that we were all very proud of.
Another problem we then had was drilling the new base into the old base so it fit on top of the chair as the wood was very old. Drilling and nailing didn’t seem to get us very far but eventually it was accomplished.


I went into Chatham the next day as Steph and Heather were not present for the completion of the chair and bought gold embroidery ribbon which went well with the fabric and glue gunned this to the bottom of the cushion to finish it off and hide any unwanted folds of creases. The group decided that the chair didn’t need to be painted or varnished as it was already a suitable colour. I washed the chair over in methylated spirits, removing any remaining dirt so the chair’s glossiness was revealed. I then picked out the gold embellishments on the head of the chair and down the sides and the balls on the feet. We were debating making arms for the chair using the scraps from the previous chair but decided that the overall finish was fine without them.
The overall look of the chair was very pleasing and I was extremely proud of the finished item.


No comments:
Post a Comment